The Fundamentals – Pate Brisee
The key to a great quiche or pie is in its foundation, otherwise known as, the pate brisee (or for those of us who flunked French class – pie crust).
When I first started cooking, the thought of making my own pie crust seemed so daunting, and I even contemplated *gasp* buying pre-made ones at the store. Not anymore! After my first attempt at making pate brisee (in which it turned out perfectly) I realized how incredibly easy it is.
You can incorporate additional touches to the pate brisee depending on what sort of pie you are baking. If it’s a savoury one, why not add a dash of herbs into the crust? If it’s a sweet treat, why not substitute the sugar with vanilla-infused sugar, or even add orange zest to the dough?
With cooking, your only limit is your own imagination.
During a trip to France, I watched the Mister’s mother make authentic pate brisee in her rustically posh French kitchen. I’ve adapted the traditional recipe to my own taste, as I just can’t bring myself to eat a crust that’s equal weight in butter and flour. Below is my skinny version, and I hope you dream up many little touches to add!
*Note* I use this recipe for both savoury and sweet pies
What you’ll need:
- 1 1/4 cups flour
- 1/2 tsp salt
- 1 tbls sugar (or vanilla sugar)
- 1/2 cup butter
- approx 1/4 cup water
Optional ingredients: herbs, poppy seeds, ground earl grey tea, orange zest, cinnamon
Mix the flour, salt and sugar together in a large bowl.
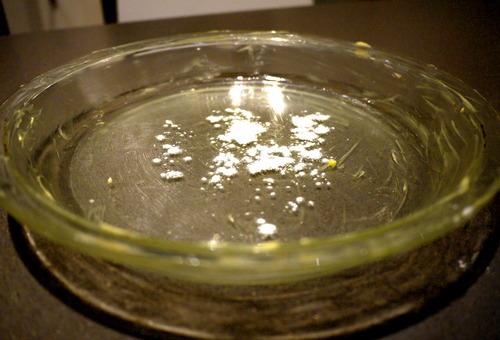
If you are using ceramic or glass baking dishes, generously butter the baking surface. Don’t be shy with the butter!
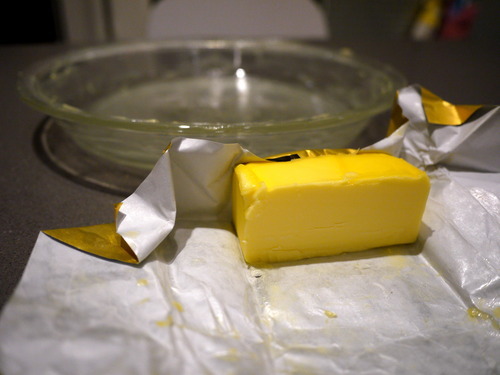
People say the best pastry makers have cold hands (ewwwwww!) mainly because their icy hands don’t melt the butter when scrunching them into the flour. I don’t follow too much mumbo jumbo, and like to dice the butter into 0.5cm nuggets so that they are easier to incorporate into the flour.
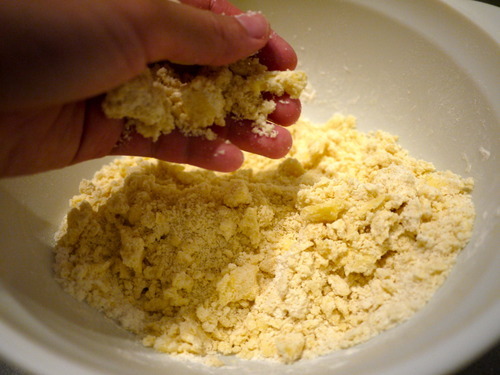
Now comes the fun part! Using the pads of your fingers, break the butter slowly into the flour, until it comes to a crumbly consistency (shown below).
Add water to the mixture bit by bit, until the dough can be gently kneaded. You don’t necessarily have to use all the water – just make sure your dough isn’t too sticky or runny.
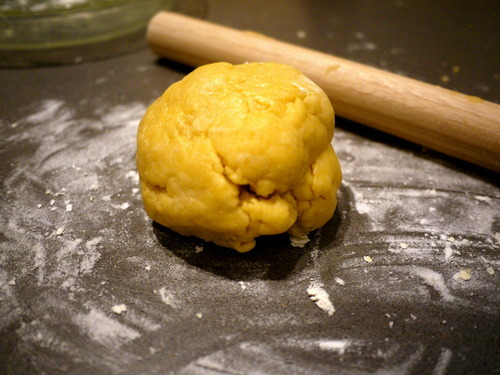
Now you can either roll out the pastry immediately, or wrap it in cling film and save it in the fridge for up to 2 days. I like to roll out immediately, as it’s a lot easier to shape.
i like to honour a little French family tradition and add a dash of flour to the bottom of the pie dish for luck. When I asked the MIster’s mother why she does this, she told me that this is simply the way her mother and grandmother have always made pies – awwwww, I love family traditions.
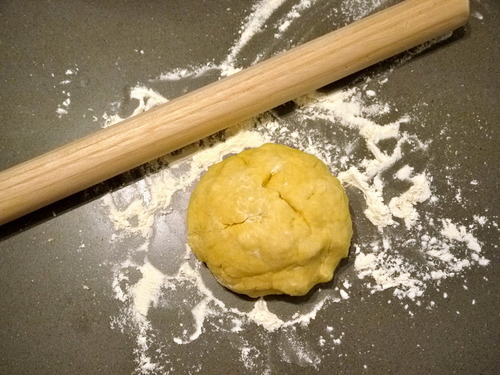
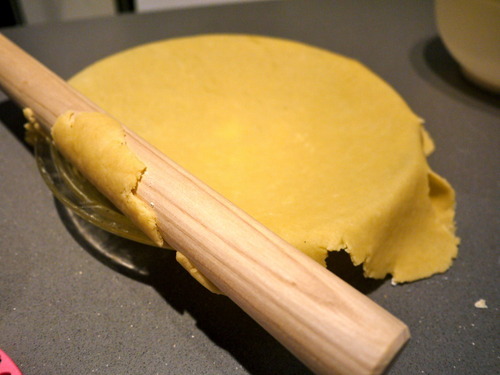
Once you roll out the pie crust, loosely wrap it around the rolling pin for easy transfer to the pie dish.
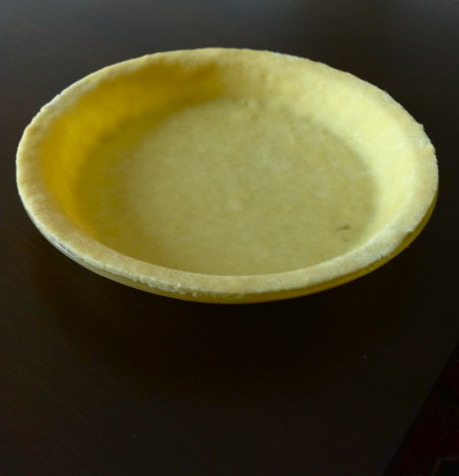
Tuck in the crust and trim the edges.
Voila! I don’t mean to brag, but the picture shown below is of the very first pate brisee I’ve ever made, which goes to show that even first timers can make great pie crusts!


 #sallyhansen #nailpolish")